DIY Concrete Countertop Mix Recipe
Concrete is not cake, despite what the measuring buckets and anxious hovering may suggest. But a good DIY concrete mix does behave a little like a recipe: consistent ingredients, careful water control, proper mixing, and enough patience to let the material cure before judging the result.
This guide is adapted from a previously approved Landscapade concrete mix article and method. Steve has approved the original method for Landscapade use. It is intended for homeowners experimenting with small concrete countertops, molds, pavers, veneer pieces, and other cast projects.
It is not structural advice, an engineering specification, or a substitute for code requirements. Strength, finish, and durability depend on the base mix, aggregate, water ratio, additives, reinforcement, mold design, placement, vibration, curing, and local conditions. Test a small batch before committing to a full countertop or important project.
What This Mix Is For
This blend is for small cast concrete projects where you want more control than a plain bagged mix gives you.
Good candidates include:
- Small concrete countertops
- Vanity tops
- Paver molds
- Concrete trays or slabs
- Decorative cast pieces
- Thin veneer-style projects
- Practice pieces before a larger pour
This mix is not automatically the right answer for foundations, structural slabs, load-bearing work, code-regulated projects, outdoor surfaces that must carry vehicles, or anything where failure would be dangerous or expensive. For those, follow local requirements, use specified materials, and work with a qualified professional.
Safety Note
Dry cement and concrete dust are not backyard confetti. Treat them with respect.
Before mixing:
- Wear waterproof gloves.
- Wear eye protection that can handle splashes.
- Use a dust mask or respirator rated for fine dust when handling dry cement, silica-containing materials, or powdered additives.
- Avoid breathing dust.
- Keep dust down instead of dry sweeping it into the air.
- Keep dry materials away from kids and pets.
- Follow every product label for cement, additives, pigments, fibers, and admixtures.
- Check the safety data sheet for products you have not used before.
- Wash skin promptly if wet concrete contacts it.
- Mix in a ventilated area and avoid windy conditions that blow dust around.
Wet cement can irritate or burn skin. Dry silica dust can be hazardous if inhaled. Looking casual while mixing concrete is not worth sacrificing your lungs, eyes, or hands.
Before You Mix
Do this before opening a bag:
- Read the labels for the concrete mix, Portland cement, fortifier, water reducer, pigments, and fibers you plan to use.
- Confirm the project is small, cast, decorative, or homeowner-scale rather than structural or code-regulated.
- Decide how you will reinforce, vibrate, cure, and demold the piece.
- Measure the mold volume and make sure you have enough material for one continuous pour.
- Make a small test tile with the same materials, mold release, vibration method, and curing plan.
- Write down the exact quantities used so a good test can be repeated.
The test batch is not busywork. It is the part where the project quietly tells you whether it is about to become a learning experience.
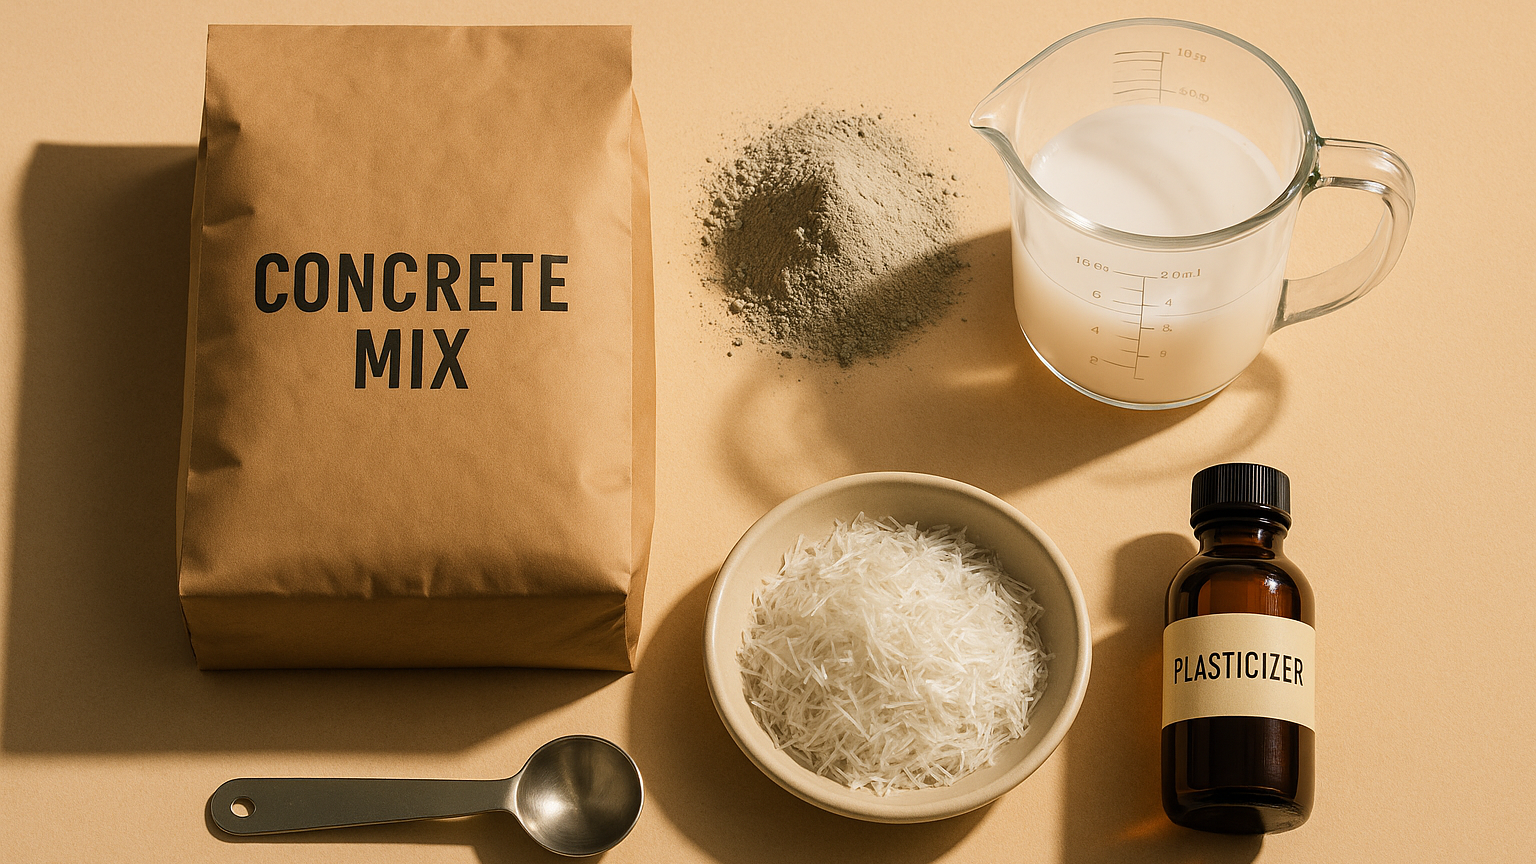
Ingredients
For one small batch, the current source recipe is organized around a standard bagged concrete mix with optional additives that may improve workability or finish when used correctly. Treat the quantities below as a starting point for testing, not a universal promise.
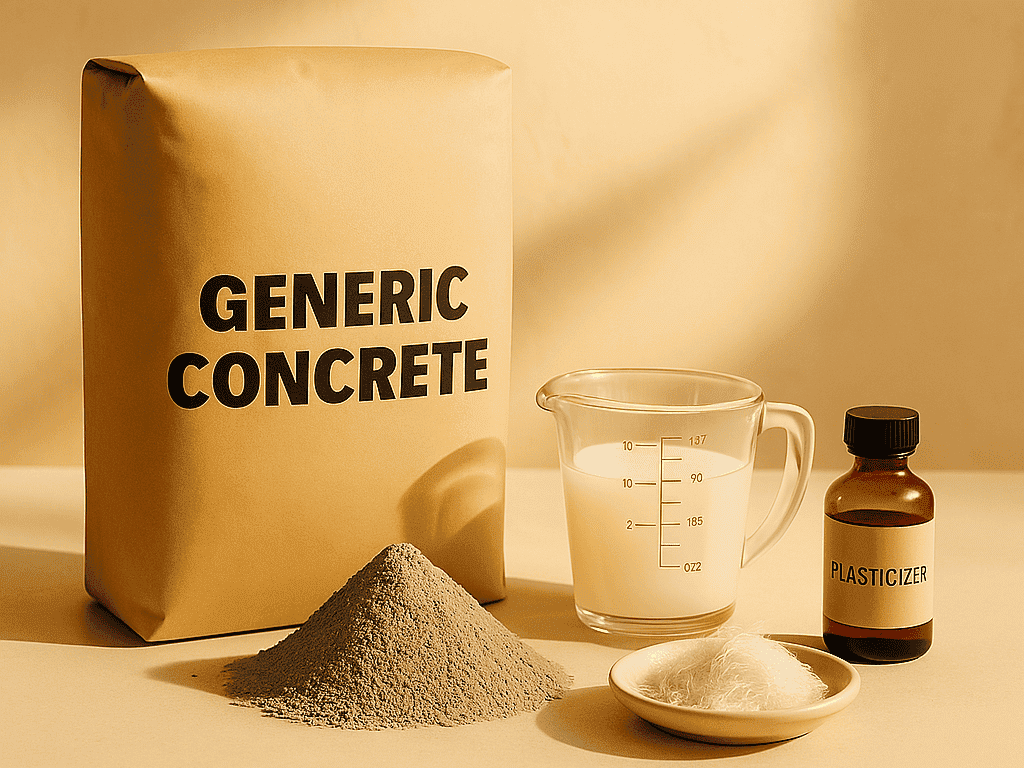
Base ingredients:
- One 60-pound bag of basic concrete mix
- About 6 pounds of Portland cement, Type I/II
- Clean water, starting around 2.5 to 3 quarts
- Liquid acrylic polymer or concrete fortifier, if appropriate for your project
- High-range water reducer or superplasticizer, used only according to product directions
- Chopped fiber reinforcement, such as alkali-resistant glass fiber or polypropylene fiber
Optional ingredients:
- Concrete pigment for color
- Additional fine aggregate or sand for texture adjustments
- Small aggregate for pavers or thicker pieces
- Pozzolans such as fly ash or metakaolin, if you know how they affect cure time and workability
Do not throw every additive into the bucket because the internet looked confident. Each additive changes the mix, and some products have narrow dosage ranges. Add one variable at a time when testing.
Tools Needed
Gather tools before opening bags. Concrete waits for no one, least of all the person searching for a clean measuring cup.
Useful tools:
- Mortar tub, wheelbarrow, bucket, or mixer
- Heavy-duty drill with mortar paddle for small batches
- Portable concrete mixer for larger batches
- Scale for cement, fibers, and additives
- Measuring cups for liquids
- Trowel or margin trowel
- Scraper for the sides of the mixing container
- Mold release agent if casting in forms
- Orbital sander or other vibration method for small molds
- Plastic sheeting for curing
- Spray bottle or gentle water source for moist curing
For anything larger than a small batch, a mixer is not laziness. It is mercy.
Basic Mix Ratio
A practical starting ratio for a test batch:
- 60 pounds basic concrete mix
- 6 pounds additional Portland cement
- Water added slowly, starting with about 2.5 to 3 quarts
- Acrylic polymer or fortifier only at the product-label rate
- Superplasticizer only at the product-label rate
- Fiber reinforcement only at the product-label rate
The goal is a dense, workable mix with enough paste to fill the mold and enough body to avoid turning into soup. More water can make concrete easier to pour, but it can also weaken the cured piece and increase shrinkage. This is where many DIY concrete projects begin their villain arc.
This ratio is not a strength guarantee. Use the product label as the controlling source for water, admixture dosage, placement limits, and curing requirements.
Step-by-Step Mixing Process
1. Pre-Measure Everything
Measure cement, water, polymer, fibers, and any admixtures before mixing. Keep the products and labels nearby so you can confirm dosage limits.
If you are testing, write down what you used. Future you will not remember whether that suspiciously good test tile had 2.75 quarts of water or 3.25.
2. Blend the Dry Materials
Add the bagged concrete mix and extra Portland cement to your mixing container. Blend them dry until the color looks uniform and there are no obvious pockets of straight cement.
This helps prevent clumps once water hits the mix.
3. Mix Liquid Additives Separately
If using acrylic polymer or concrete fortifier, mix it into part of the water first, following the product label.
Do not assume every fortifier, plasticizer, pigment, or fiber system uses the same dose. The label wins.
4. Add Liquid Gradually
Make a shallow well in the dry mix and add the water or water-polymer blend gradually. Mix until all dry material is damp.
At first, the batch may look too stiff. That is normal. Give the dry material time to hydrate before adding more water.
5. Adjust Slowly
Add water in small amounts only as needed. Mix thoroughly between additions.
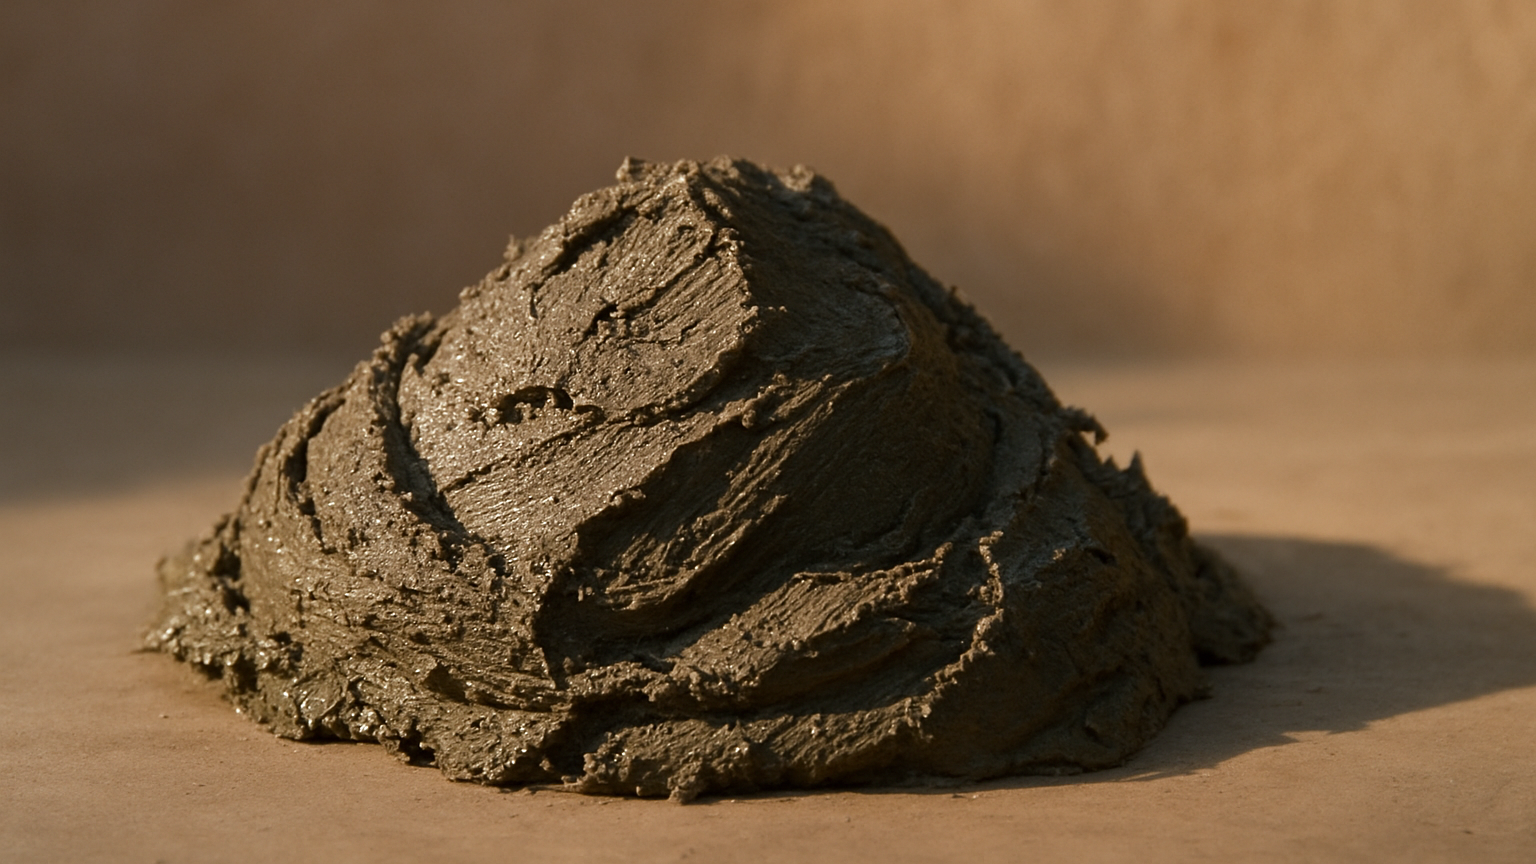
Aim for a thick, workable consistency. For many molds, this feels closer to heavy oatmeal, peanut butter, or stiff cake batter than a pourable drink. If it sloshes, separates, or leaves water rising to the surface, it is probably too wet.
6. Add Water Reducer Carefully
If using a superplasticizer or water reducer, add it after the mix is already hydrated and close to the desired consistency. These products can loosen the mix without requiring as much extra water, but overdosing can create problems.
Follow the product label and test first.
7. Add Fibers Last
Sprinkle fibers in slowly while mixing. Dumping them all at once can create clumps.
Keep mixing until fibers are evenly distributed, but avoid whipping unnecessary air into the batch.
Adjusting Consistency
Concrete consistency is a tradeoff between workability, finish, shrinkage, and final performance.
If the mix is too stiff:
- Add a very small amount of water.
- Mix again before adding more.
- Confirm that fibers or dry pockets are not making the batch seem drier than it is.
If the mix is too wet:
- Stop adding water.
- Add a small amount of dry mix or cement-sand blend if appropriate.
- Let the batch rest briefly and remix.
- Do not keep chasing flow with water.
For detailed molds, you may need a slightly more fluid mix, careful vibration, or a compatible water reducer. For thicker pavers or simple slabs, a stiffer mix may be easier to control.
Best Uses
This kind of customized mix is most useful when finish and mold detail matter.
Best-fit projects:
- Countertop samples
- Small concrete counters
- Pavers made in molds
- Decorative slabs
- Concrete trays
- Outdoor side-table tops
- Veneer-style cast pieces
The mix is especially useful when you want to experiment with smoother surfaces, pigments, fibers, and controlled water content.
Common Mistakes
Adding Too Much Water
This is the classic concrete mistake. Extra water makes mixing feel easier but can reduce strength, increase shrinkage, and create a weaker surface.
Skipping a Test Batch
A test tile or small paver can save you from ruining a larger project. Test color, texture, release, vibration, cure, and finishing before making the final piece.
Ignoring Product Labels
Admixtures are not seasoning. More is not automatically better.
Forgetting Mold Release
If the concrete sticks to the form, the finish may tear when you demold it. Use a suitable release agent and test it with your mold material.
Not Vibrating the Mold
Air bubbles can leave voids and pockmarks. For small molds, an orbital sander held against the form can help bubbles rise. Do not overdo it, or you may separate the mix.
Rushing the Cure
Concrete gains strength through hydration. Letting it dry out too quickly can hurt the final result.
Curing Notes
After placement, protect the piece from drying too quickly.
General curing practices:
- Cover with plastic after the surface firms up.
- Keep the piece damp, not flooded.
- Avoid direct hot sun during early curing.
- Leave the piece in the mold long enough to gain handling strength.
- Wait before sealing, polishing, or putting the piece into use.
Concrete continues gaining strength over time, often for weeks. The first day is not the whole story.
When to Use Bagged Mix Instead
Sometimes the simplest answer is the right one.
Use a standard bagged mix when:
- The project is utilitarian.
- Finish quality is not critical.
- You are filling a basic footing, post hole, or rough outdoor form.
- You do not want to measure additives.
- You need predictable label instructions.
- The project has structural or code requirements better served by specified materials.
Use a customized mix when:
- You are casting a small decorative piece.
- You want smoother mold detail.
- You are testing pigments or fibers.
- You are willing to measure carefully.
- You can make and evaluate a small test batch first.
When Not to Use This Recipe
Skip this recipe, or get professional guidance, when:
- The project is structural, load-bearing, or code-regulated.
- The piece needs engineered reinforcement or inspection.
- The surface will carry vehicles, heavy equipment, or critical loads.
- You cannot test a small batch first.
- You cannot follow the labels for the materials and additives.
- A failed piece would create a safety risk or a very expensive mess.
- You need a manufacturer-backed product system with documented performance.
A DIY mix is best for controlled, small-scale casting. It is not a magic password that turns a homeowner project into engineered concrete.
Final Recommendation
For a first concrete countertop or mold project, start small. Make a sample tile using the same mold material, release agent, vibration method, and curing plan you intend to use on the real project.
If the sample looks good, scales cleanly, releases well, and cures without obvious problems, then move up to the actual piece. Concrete rewards patience. It is less fond of swagger.

Product and Affiliate Note
Product recommendations and affiliate links are intentionally deferred for now. If specific products are added later, they should come through structured product data, use verified affiliate status, and keep the same safety and product-label boundaries used in this guide.